
In the previous lession, we learn how to setting up Android Environment
Now we start to create the first Application: Change background
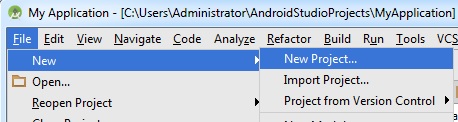
Step 1: create new project
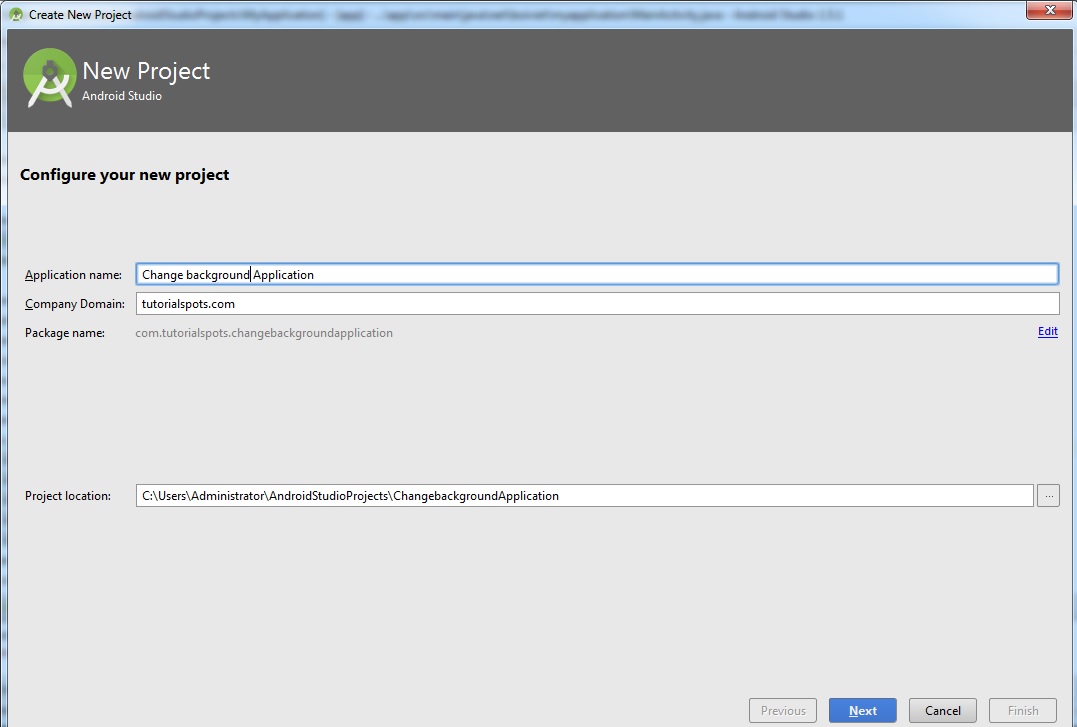
Configure new project
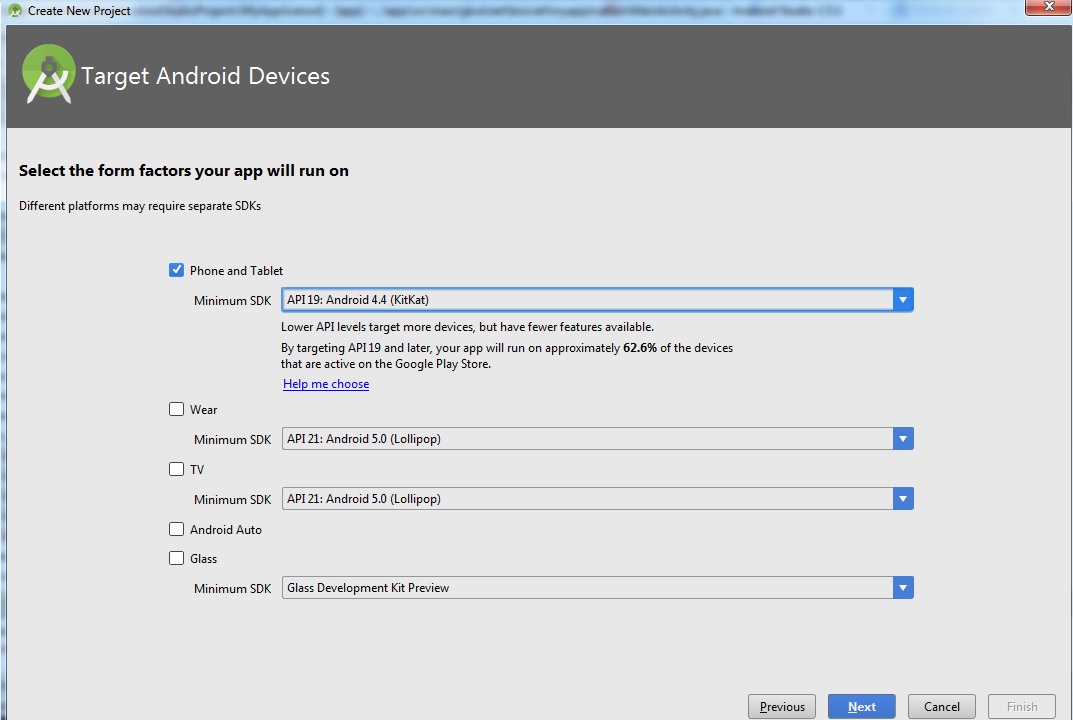
Target android devices
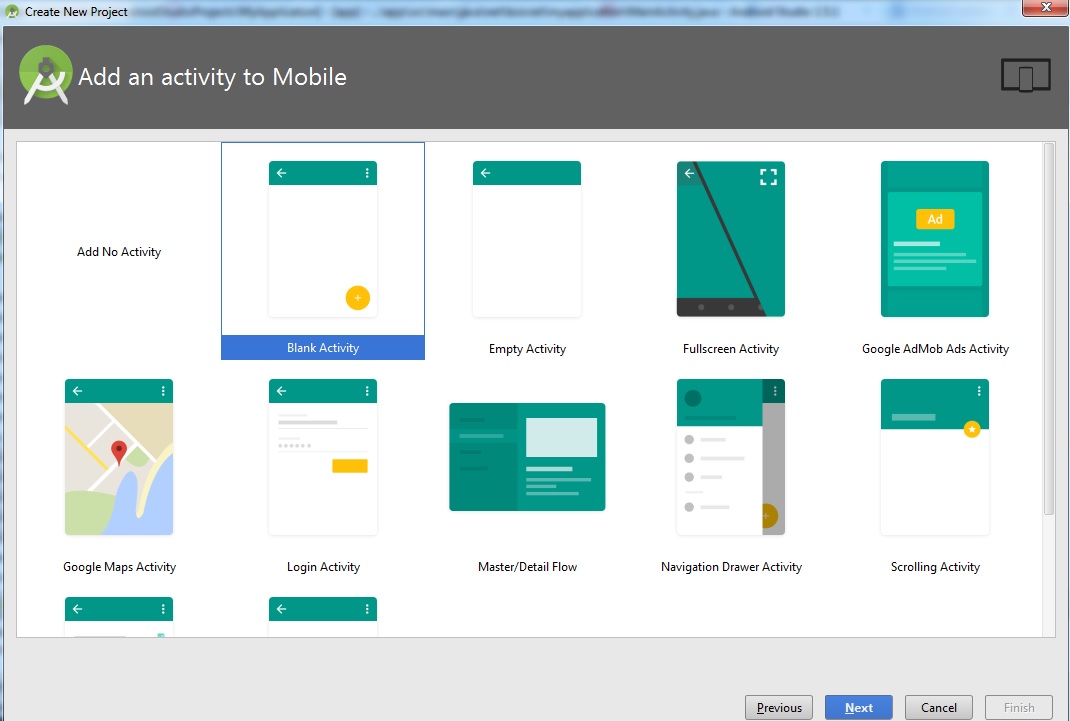
Add an activity to mobile
Customize the activity
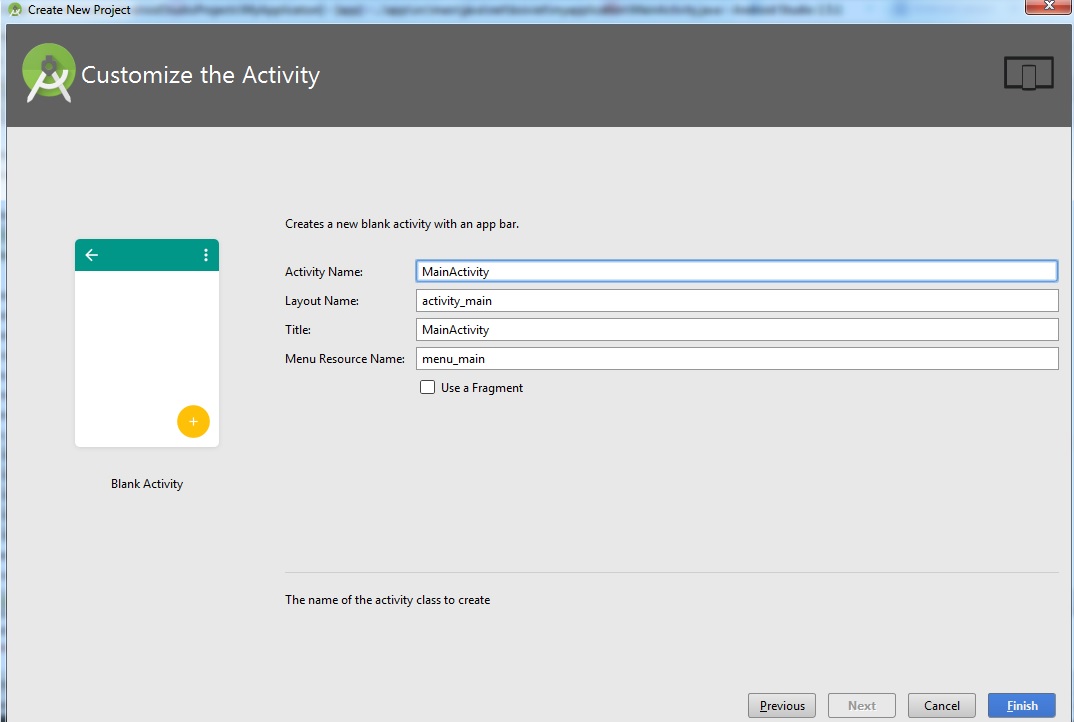
Click Finish.
Step 2: Create new Android Virtual Device
You can user AVD manager in Toolbar

or Tools -> Android -> AVD manager
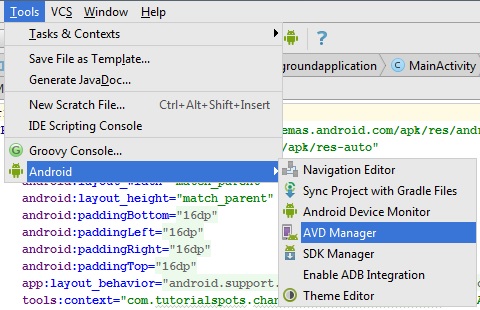
Click the button Create Virtual Device to create your Virtual device 😀 …
You can go to this tutorial to view detail in Step 4: How to fix error “HAXM is not working and emulator runs in emulation mode” for Android Emulator
Click Finish
Step 3: begin your Application
Now we get the screen of Android Studio:

3.1: First, work with content_main.xml -> use tab text
Create the textview
    <TextView
        android:layout_width="wrap_content"
        android:layout_height="wrap_content"
        android:layout_centerHorizontal="true"
        android:textColor="#ff0000"
        android:text="Change backgroud tutorial (tutorialspots.com)" />

Create the green button
Use the tab Design and drag the button and drop to center of Layout
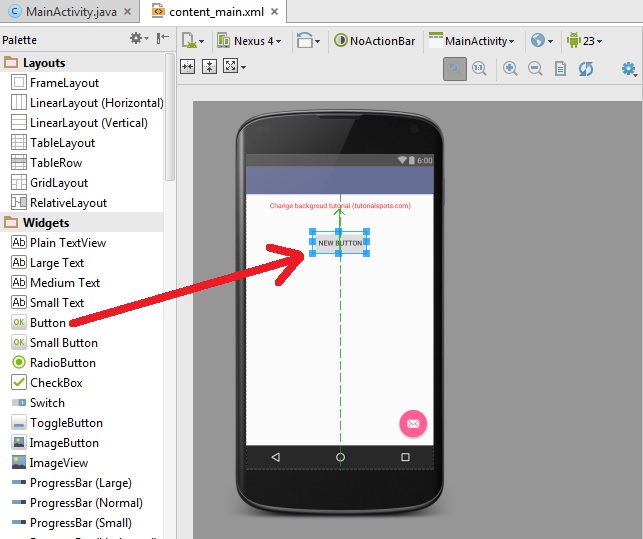
Use the tab text, and change the code of the button:
<Button
        android:layout_width="wrap_content"
        android:layout_height="wrap_content"
        android:text="Green Button"
        android:id="@+id/greenbutton"
        android:layout_below="@+id/textView"
        android:layout_centerHorizontal="true"
        android:layout_marginTop="44dp" />
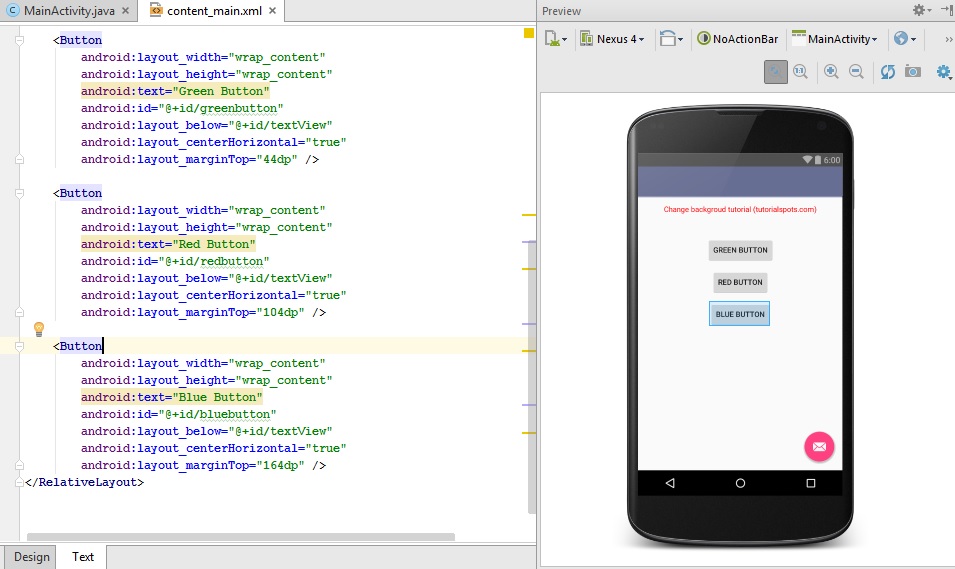
Create the red and blue buttons
<Button
        android:layout_width="wrap_content"
        android:layout_height="wrap_content"
        android:text="Red Button"
        android:id="@+id/redbutton"
        android:layout_below="@+id/textView"
        android:layout_centerHorizontal="true"
        android:layout_marginTop="104dp" />

    <Button
        android:layout_width="wrap_content"
        android:layout_height="wrap_content"
        android:text="Blue Button"
        android:id="@+id/bluebutton"
        android:layout_below="@+id/textView"
        android:layout_centerHorizontal="true"
        android:layout_marginTop="164dp" />
Use ID for RelativeLayout
<RelativeLayout xmlns:android="http://schemas.android.com/apk/res/android"
    xmlns:app="http://schemas.android.com/apk/res-auto"
    xmlns:tools="http://schemas.android.com/tools"
    android:layout_width="match_parent"
    android:layout_height="match_parent"
    android:paddingBottom="@dimen/activity_vertical_margin"
    android:paddingLeft="@dimen/activity_horizontal_margin"
    android:paddingRight="@dimen/activity_horizontal_margin"
    android:paddingTop="@dimen/activity_vertical_margin"
    android:id="@+id/background"
    app:layout_behavior="@string/appbar_scrolling_view_behavior"
    tools:context="com.tutorialspots.changebackgroundapplication.MainActivity"
    tools:showIn="@layout/activity_main">
3.2 Work with MainActivity.java
Define some variables:
After the line
public class MainActivity extends AppCompatActivity {
Add some new lines:
    public RelativeLayout background;
    public Button greenbutton;
    public Button redbutton;
    public Button bluebutton;
Note: Android studio will auto add:
import android.widget.Button;
import android.widget.RelativeLayout;
In method onCreate insert some new lines
background = (RelativeLayout) findViewById(R.id.background);
greenbutton = (Button) findViewById(R.id.greenbutton);
        redbutton = (Button) findViewById(R.id.redbutton);
        bluebutton = (Button) findViewById(R.id.bluebutton);

greenbutton.setOnClickListener(new View.OnClickListener() {
            @Override
            public void onClick(View v) {
                background.setBackgroundColor(Color.GREEN);
            }
        });

        redbutton.setOnClickListener(new View.OnClickListener() {
            @Override
            public void onClick(View v) {
                background.setBackgroundColor(Color.RED);
            }
        });

        bluebutton.setOnClickListener(new View.OnClickListener() {
            @Override
            public void onClick(View v) {
                background.setBackgroundColor(Color.BLUE);
            }
        });
Step 4: start a AVD

Wait for some minutes until you see the AVD and Android startup
Step 5: Run the application

Wait a few minutes and we’ll get the result:

