In the previous tutorials we learn how to install Genymobile emulator
Now we learn how to configure Genymotion to run with Android Studio
Step 1: In Android Studio, go to File -> Settings
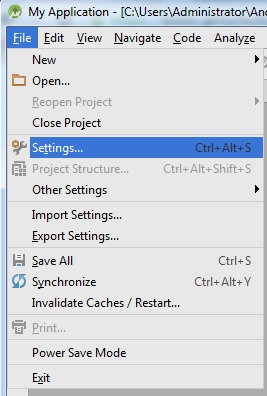
You will see Settings dialog.
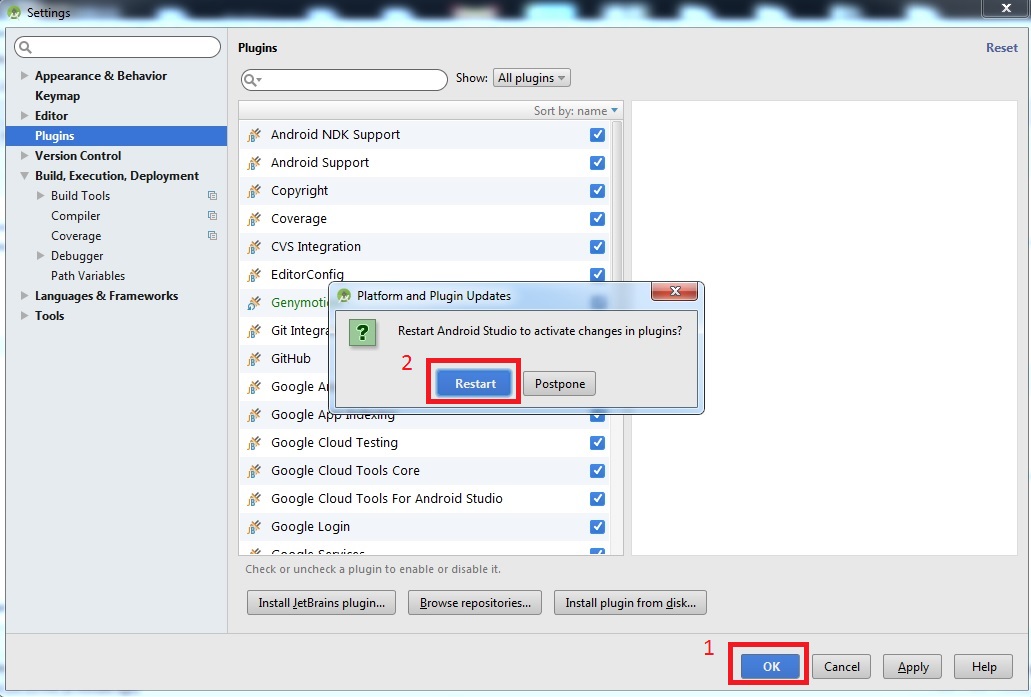
Step 2: Select Plugins and click Browse Repositories
Step 3: Select Genymotion then click Install plugin

Step 4: Click OK then click Restart to restart Android Studio
Now, you can see Genymotion icon in the toolbar:

Step 5: Click Genymotion icon in the toolbar, you will see the Default Settings dialog
Fill the field (1) with: C:\Program Files\Genymobile\Genymotion then click OK

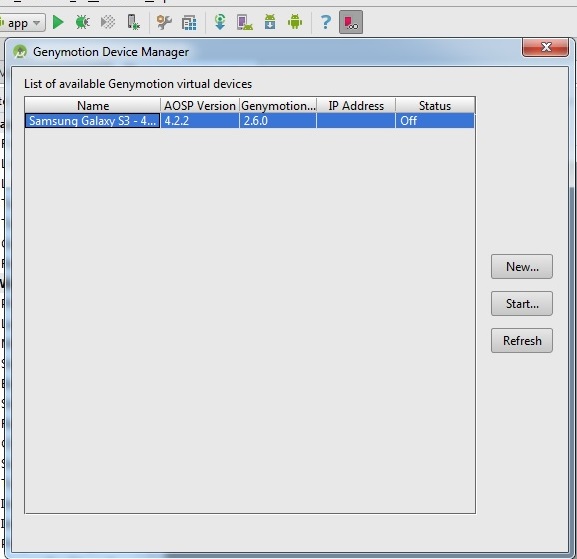
Now, you click the Genymotion icon again, you can see list of avalable Genymition virtual device. Click Start to start a virtual device.