
With Nodejs, we can create real-time application like chat-room. We can use Socket.io, WS or Websocket. Today, we introduce a simple chat application with Nodejs + Socket.io
Application structure:
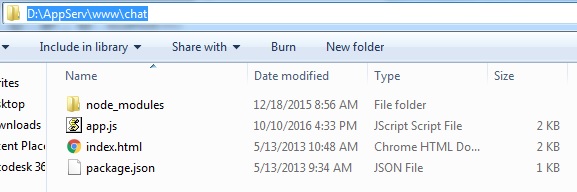
File: package.json
{
     "name": "chat",
     "description": "example chat application with socket.io",
     "version": "0.0.1",
     "dependencies": {
        "express": "2.4.6",
        "socket.io": "0.8.4"
     }
}
File: index.html
<script src="http://localhost:443/socket.io/socket.io.js"></script>
<script src="https://ajax.googleapis.com/ajax/libs/jquery/1.6.4/jquery.min.js"></script>
<script>
var socket = io.connect('http://localhost:443');
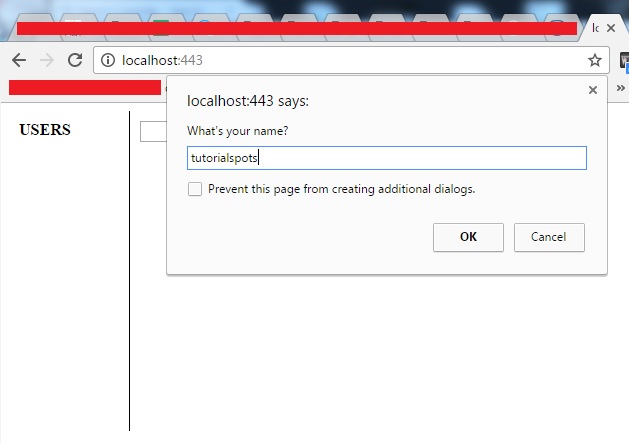
// on connection to server, ask for user's name with an anonymous callback
socket.on('connect', function(){
// call the server-side function 'adduser' and send one parameter (value of prompt)
socket.emit('adduser', prompt("What's your name?"));
});
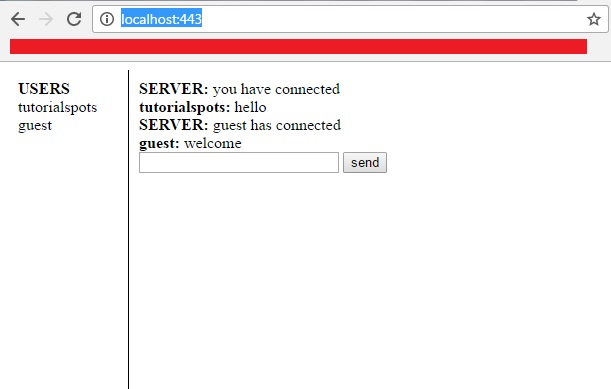
// listener, whenever the server emits 'updatechat', this updates the chat body
socket.on('updatechat', function (username, data) {
$('#conversation').append('<b>'+username + ':</b> ' + data + '<br>');
});
// listener, whenever the server emits 'updateusers', this updates the username list
socket.on('updateusers', function(data) {
$('#users').empty();
$.each(data, function(key, value) {
$('#users').append('<div>' + key + '</div>');
});
});
// on load of page
$(function(){
// when the client clicks SEND
$('#datasend').click( function() {
var message = $('#data').val();
$('#data').val('');
// tell server to execute 'sendchat' and send along one parameter
socket.emit('sendchat', message);
$('#data').focus();
});
// when the client hits ENTER on their keyboard
$('#data').keypress(function(e) {
if(e.which == 13) {
$(this).blur();
$('#datasend').focus().click();
}
});
});
</script>
<div style="float:left;width:100px;border-right:1px solid black;height:300px;padding:10px;overflow:scroll-y;">
<b>USERS</b>
<div id="users"></div>
</div>
<div style="float:left;width:300px;height:250px;overflow:scroll-y;padding:10px;">
<div id="conversation"></div>
<input id="data" style="width:200px;" />
<input type="button" id="datasend" value="send" />
</div>
File: app.js
var app = require('express').createServer();
var io = require('socket.io').listen(app);

app.listen(443);

// routing
app.get('/', function (req, res) {
  res.sendfile('index.html', {root: __dirname});
});

// usernames which are currently connected to the chat
var usernames = {};

io.sockets.on('connection', function (socket) {

	// when the client emits 'sendchat', this listens and executes
	socket.on('sendchat', function (data) {
		// we tell the client to execute 'updatechat' with 2 parameters
		io.sockets.emit('updatechat', socket.username, data);
	});

	// when the client emits 'adduser', this listens and executes
	socket.on('adduser', function(username){
		// we store the username in the socket session for this client
		socket.username = username;
		// add the client's username to the global list
		usernames[username] = username;
		// echo to client they've connected
		socket.emit('updatechat', 'SERVER', 'you have connected');
		// echo globally (all clients) that a person has connected
		socket.broadcast.emit('updatechat', 'SERVER', username + ' has connected');
		// update the list of users in chat, client-side
		io.sockets.emit('updateusers', usernames);
	});

	// when the user disconnects.. perform this
	socket.on('disconnect', function(){
		// remove the username from global usernames list
		delete usernames[socket.username];
		// update list of users in chat, client-side
		io.sockets.emit('updateusers', usernames);
		// echo globally that this client has left
		socket.broadcast.emit('updatechat', 'SERVER', socket.username + ' has disconnected');
	});
});
Run: node app.js
Go to website: http://localhost:443/
Next tutorial: Example chat application using Nodejs + Websocket

1 Comment
Example chat application using Nodejs + Websocket | Free Online Tutorials
(October 10, 2016 - 9:57 am)[…] Previous tutorial: Example chat application using Nodejs + Socket.io […]