I have been asked “how do you create smart playlists?” so I thought I would begin a new series of iTunes posts; iTunes Basics. I should probably start with an introduction to iTunes, but that will be next.
Creating normal playlists
A normal playlist allows you to add any song to it. There are no limitations to what you can add to the list. To create playlists in iTunes, there are a few ways:
- Clicking the + icon in the lower left hand corner of the screen.
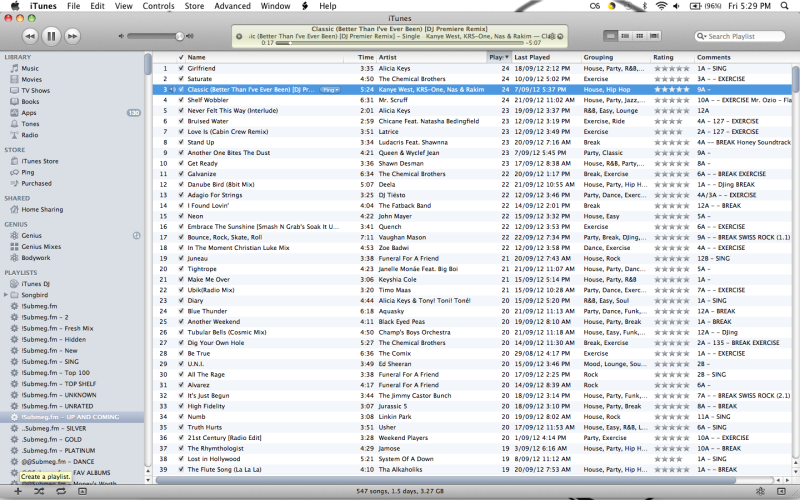
2. Selecting “new playlist” from file.

3. Using the keyboard shortcuts (Windows or Mac)
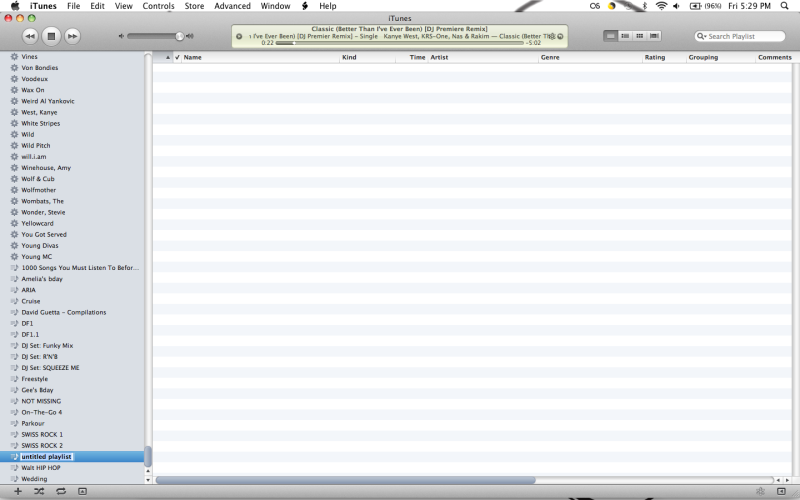
By doing this it will add an untitled playlist to your library as shown in the screenshot below:
You can then rename the playlist as you wish. To add songs to the playlist, you can click and drag the song to the playlist or right-click and select “add to playlist >” and choose your newly created playlist.
Creating smart playlists
A smart playlist is more complicated than a normal playlist. The songs that are contained within the playlist are defined by a set of rules. To create a smart playlist, there are two ways:
- Using the “new smart playlist” from the file menu.
- Using the keyboard shortcuts.
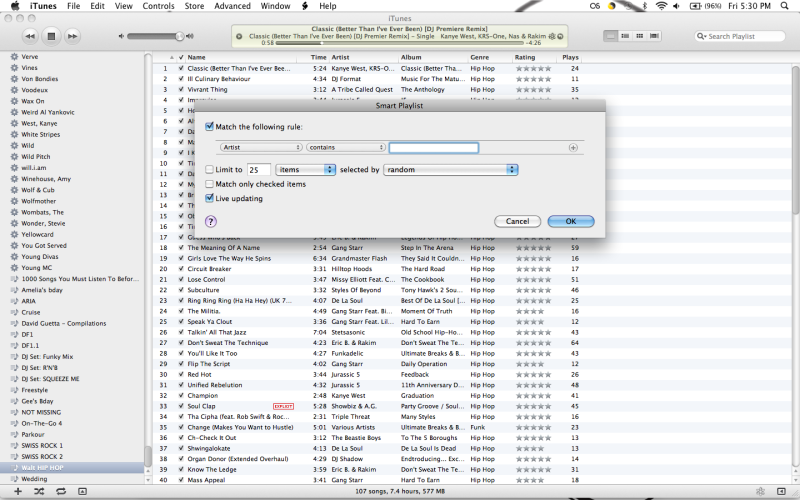
Once a new smart playlist has been created, a pop up is displayed where the rules for the playlist are defined. This is shown below:
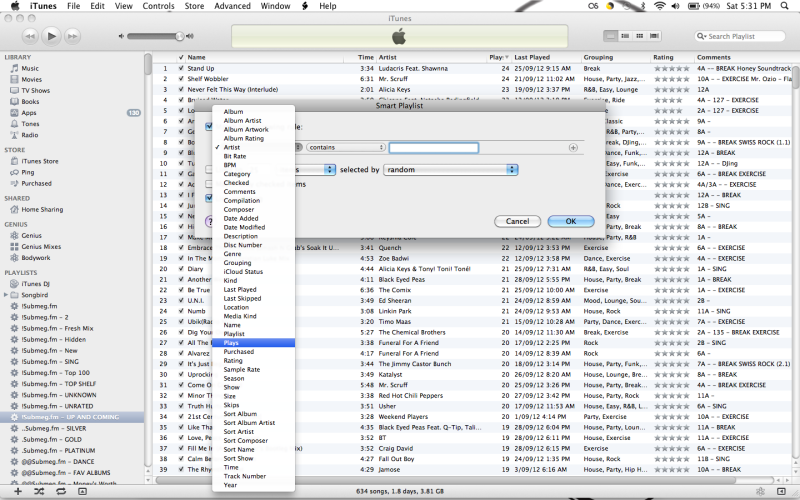
For example, if you want to create a playlist that contains songs only by the artist Red Hot Chili Peppers, the rule would be “Artist is Red Hot Chili Peppers”. There are a multitude of different options that you can select, which is shown below:
To have more than one rule to define the playlist, press the + symbol on the right hand side of the pop up box. This will create a second rule, then a third rule and so on. For how to use multiple rules, I will create another post.
This is how you can create normal or smart playlists. If you need any more information, add a comment below!

