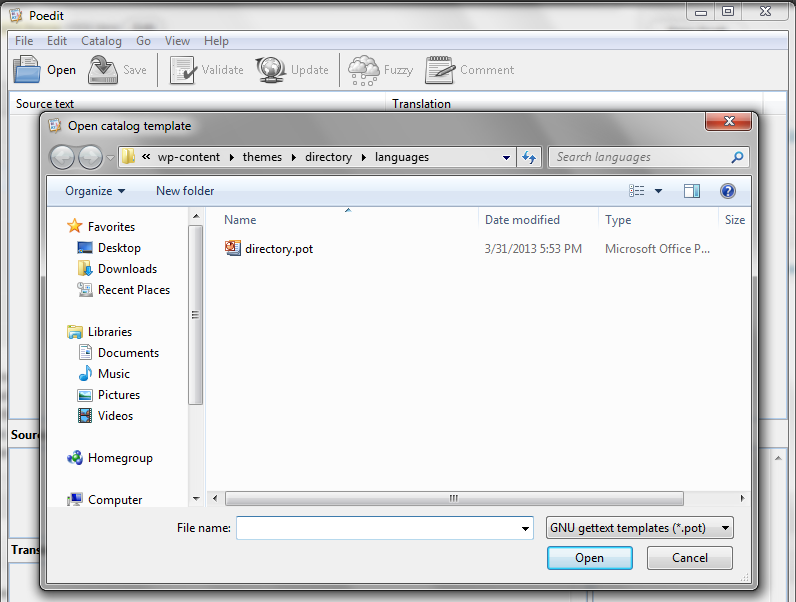
Almost of WordPress themes include a language file to make translating to a different language easy. Inside the theme folder wp-content/themes/theme-name/languages , you’ll find a language file named theme-name.pot.
Configure WordPress
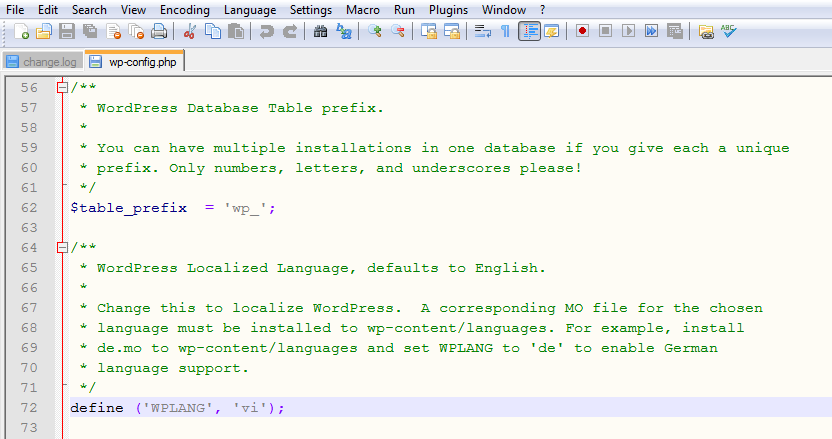
Before translating your theme, you’ll need to make sure WordPress is setup correctly with your locale. Open wp-config.php and modify the line below, or add it if it is missing. See the complete list of language codes and country codes to find your exact locale.
/**
* WordPress Localized Language, defaults to English.
*
* Change this to localize WordPress.  A corresponding MO file for the chosen
* language must be installed to wp-content/languages. For example, install
* de.mo to wp-content/languages and set WPLANG to 'de' to enable German
* language support.
*/
define ('WPLANG', 'vi');
Download Poedit
While there are other programs as well, for the sake of clarity and simplicity we’ll just go with the one we use – Poedit. It’s free and you can download it from here. Then install it. That’s easy too. Just click next. Then … next. Then finish. And you’re done.
Translate the theme
- Open up Poedit
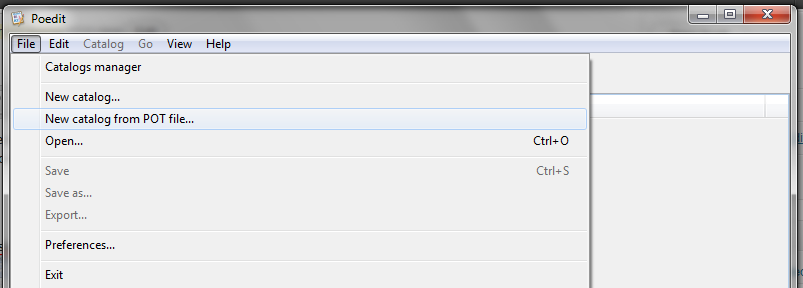
- First open your .POT file (i.e. classipress-pr_PR.po) in POEdit. “File” => “New catelog from POT file”
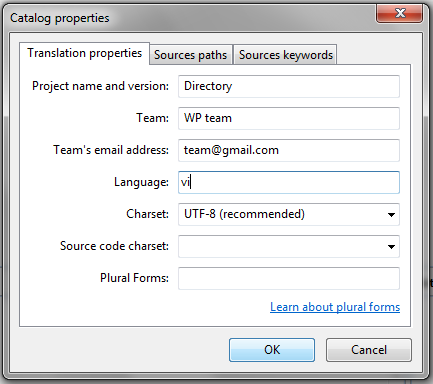
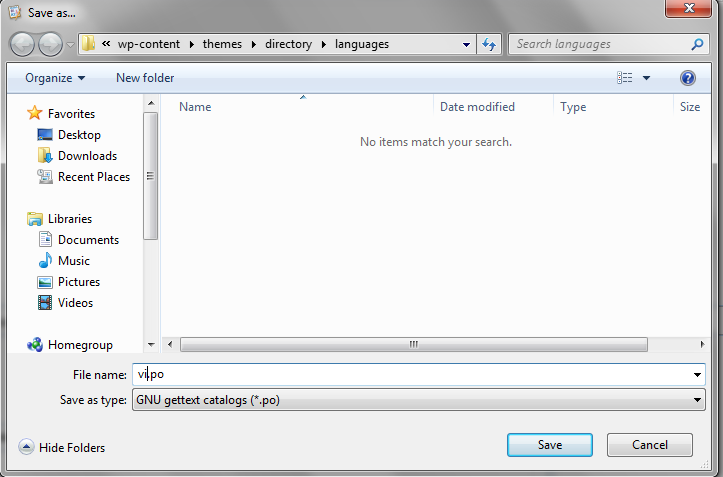
- Now PoEdit will show you what text is new and needs to be translated. It should also update any other changes that have been made.

- After you have translated the new text, save the project, which will generate your new .MO file.
- Also make sure you’ve activated the latest version of the theme (the one that the new language file came with)
Now that should be it. Once you know how to work with existing .POT files, doing the updates can be really easy.


